Oled display with D1 mini Esp8266: Difference between revisions
Jump to navigation
Jump to search
m (→Dimensions) |
mNo edit summary |
||
| Line 21: | Line 21: | ||
== Software setup == | == Software setup == | ||
{| class="wikitable" | |||
|- | |||
! Software required !! Link to software !! Description | |||
|- | |||
| Tasmotizer|| [https://github.com/tasmota/tasmotizer Tasmotizer github link] || [https://github.com/tasmota/tasmotizer/releases Tasmotize releases] | |||
|- | |||
| Tasmota Device Manager|| [https://github.com/arendst/Tasmota/wiki/Tasmota-Device-Manager TDM github link] || [https://github.com/jziolkowski/tdm/releases TDM releases] | |||
|- | |||
| Tasmota firmeware || [https://github.com/arendst/Tasmota Tasmota github link]|| [https://github.com/arendst/Tasmota/releases Tasmota releases - choose the displays release] | |||
|} | |||
=== Steps === | |||
[ | # Write the latest tasmota displays firmware | ||
# Configure the wifi and the mqtt server | |||
# Configure the device as generic | |||
# Configure the pins as in the above HW schematic | |||
# Configure the SW platform by sending the following commands as mentioned in the page [https://github.com/arendst/Tasmota/wiki/Displays Tasmota configuration of displays] | |||
Configure the I2C adress for the oled display | |||
<pre class="prettyprint"> | |||
DisplayAddress 60 | |||
</pre> | |||
Configure the type for the display | |||
<pre class="prettyprint"> | |||
DisplayModel 2 | |||
</pre> | |||
Configure the dimming to be always on [https://github.com/arendst/Tasmota/wiki/Commands#displays Tasmota display commands] | |||
<pre class="prettyprint"> | |||
DisplayDimmer 100 | |||
</pre> | </pre> | ||
Configure the tasmota firmware to receive DisplayText commands | |||
<pre class="prettyprint"> | <pre class="prettyprint"> | ||
DisplayMode 0 | |||
</pre> | </pre> | ||
Check that the OLED display works | |||
<pre class="prettyprint"> | <pre class="prettyprint"> | ||
DisplayText [s1l1c1]Hello how are you? | |||
</pre> | </pre> | ||
Revision as of 09:45, 3 January 2020
Features
| Oled display with D1 mini Esp8266 |
|
| https://bogza.ro/index.php/Oled_display_with_D1_mini_Esp8266 | |
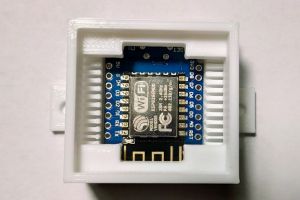
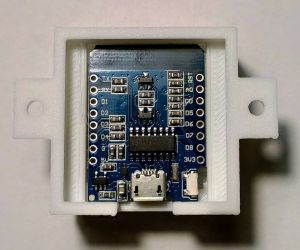
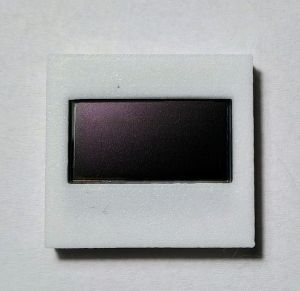
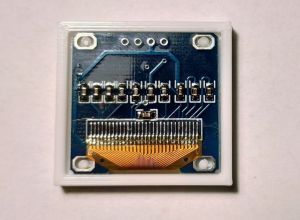
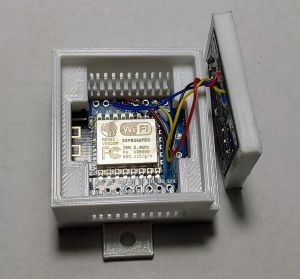
Specifications
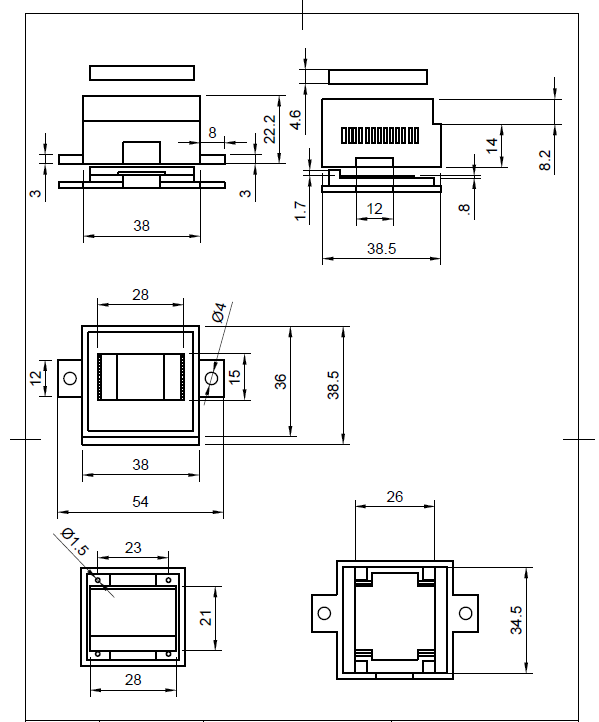
Dimensions
Software setup
| Software required | Link to software | Description |
|---|---|---|
| Tasmotizer | Tasmotizer github link | Tasmotize releases |
| Tasmota Device Manager | TDM github link | TDM releases |
| Tasmota firmeware | Tasmota github link | Tasmota releases - choose the displays release |
Steps
- Write the latest tasmota displays firmware
- Configure the wifi and the mqtt server
- Configure the device as generic
- Configure the pins as in the above HW schematic
- Configure the SW platform by sending the following commands as mentioned in the page Tasmota configuration of displays
Configure the I2C adress for the oled display
DisplayAddress 60
Configure the type for the display
DisplayModel 2
Configure the dimming to be always on Tasmota display commands
DisplayDimmer 100
Configure the tasmota firmware to receive DisplayText commands
DisplayMode 0
Check that the OLED display works
DisplayText [s1l1c1]Hello how are you?
